How a part comes together
One part, built up as you scroll.
Every 3D part below is a screenshot of the real designer, not a mock-up.
01 / 08
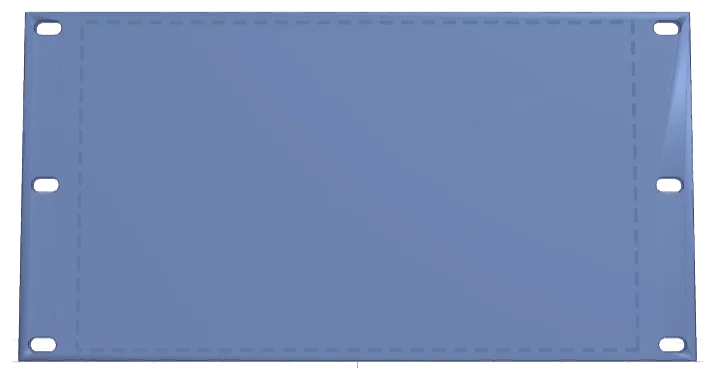
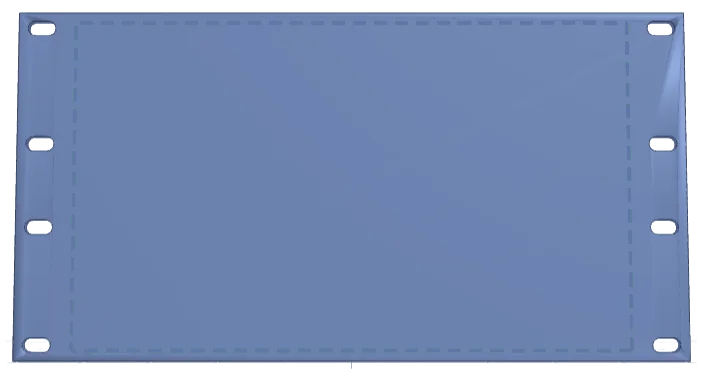
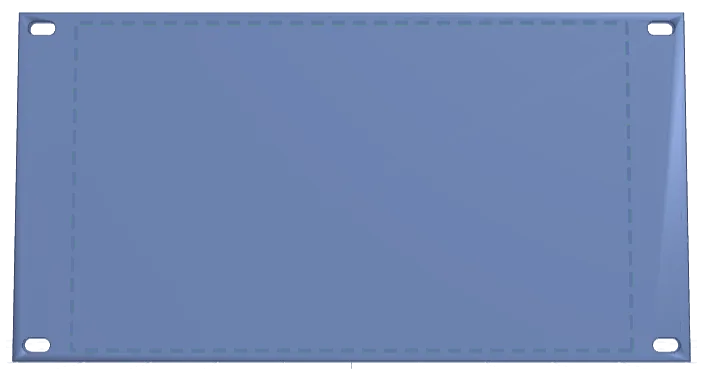
Start with a plate that fits.
Pick the height — from half a U to 12U — and the screw pattern for your rack. Every hole snaps to the real rail positions, and slotted holes give you room to line the panel up.
0.5U – 12U · EIA-310 hole rows · slotted holes
02 / 08
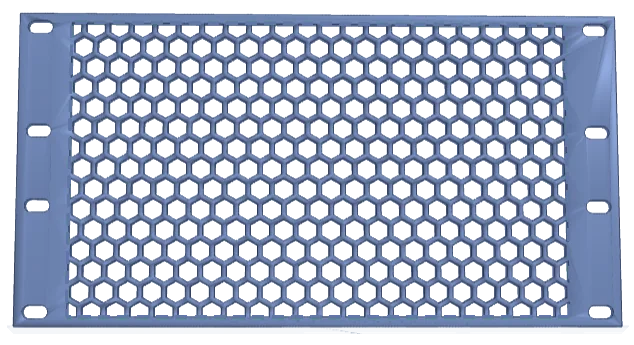
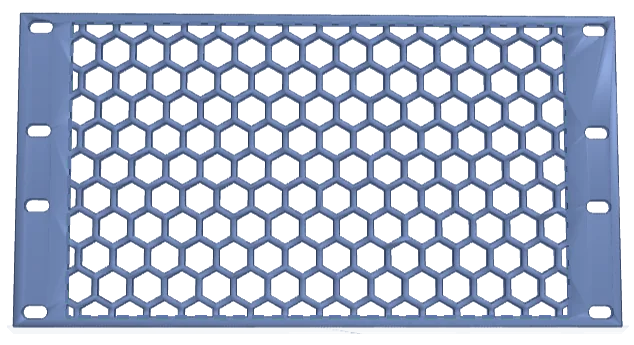
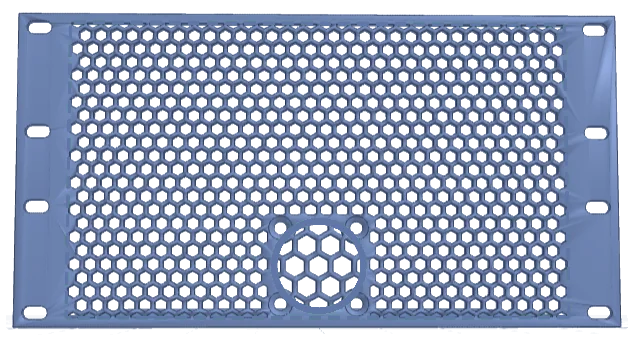
Let it breathe with honeycomb.
Turn the plate into honeycomb in three cell sizes. Cells are clipped to the space instead of dropped, so even the edges keep breathing — and a solid rim stays where the screws go.
Small 5 mm · Medium 8 mm · Large 12 mm
03 / 08
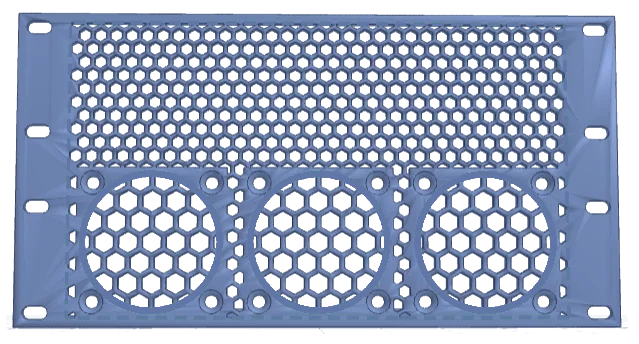
Drop in fans — they have to fit for real.
40, 60 or 80 mm fans, each with a honeycomb guard across the opening. Screw holes land where the fan's holes are, and the designer won't let a fan sit anywhere it couldn't actually be mounted.
40 mm × 5 · 60 mm × 3 · 80 mm × 2
04 / 08
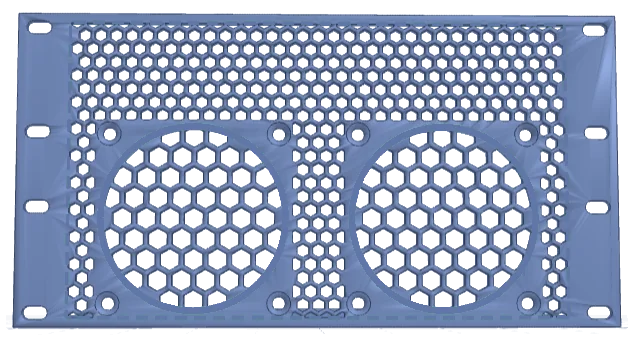
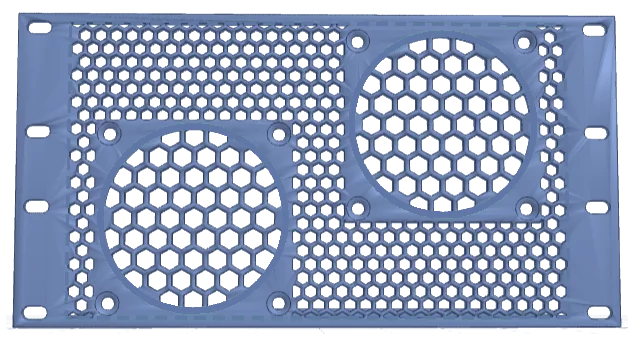
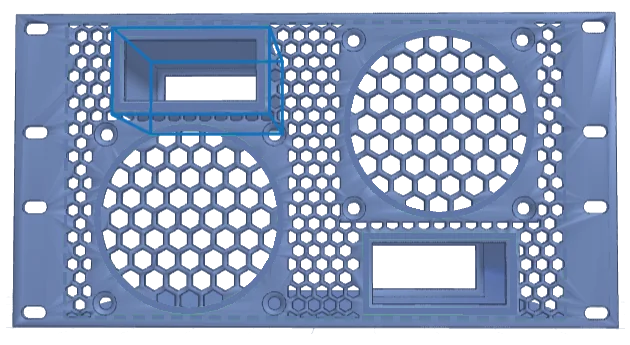
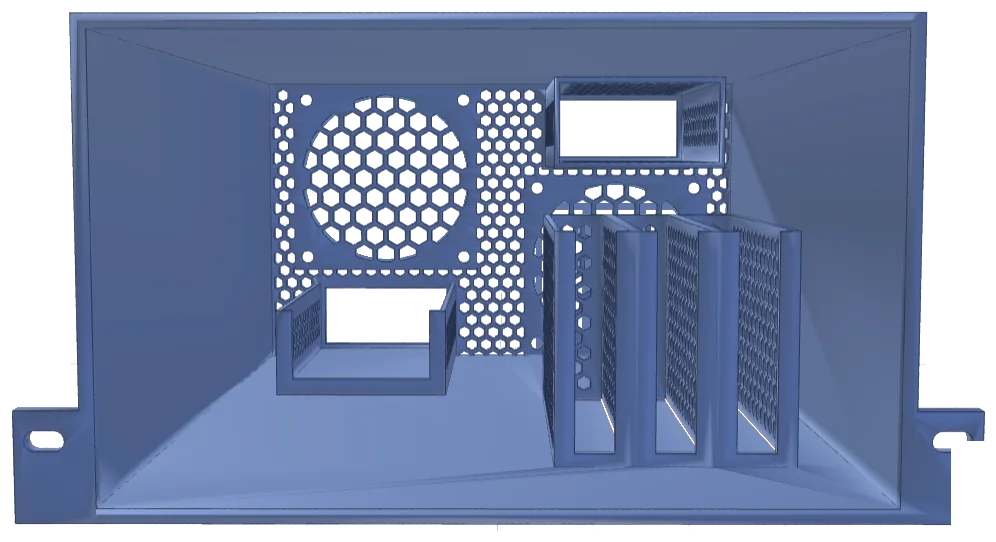
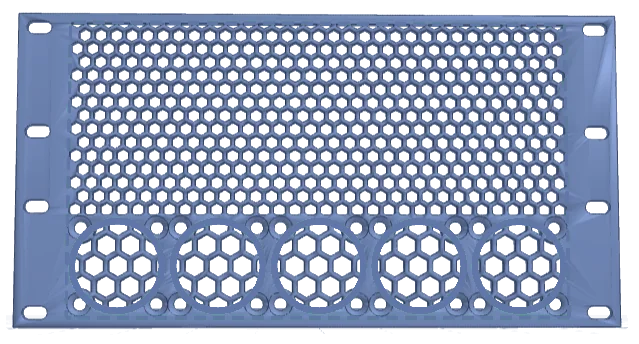
Mix fans, vents and device openings.
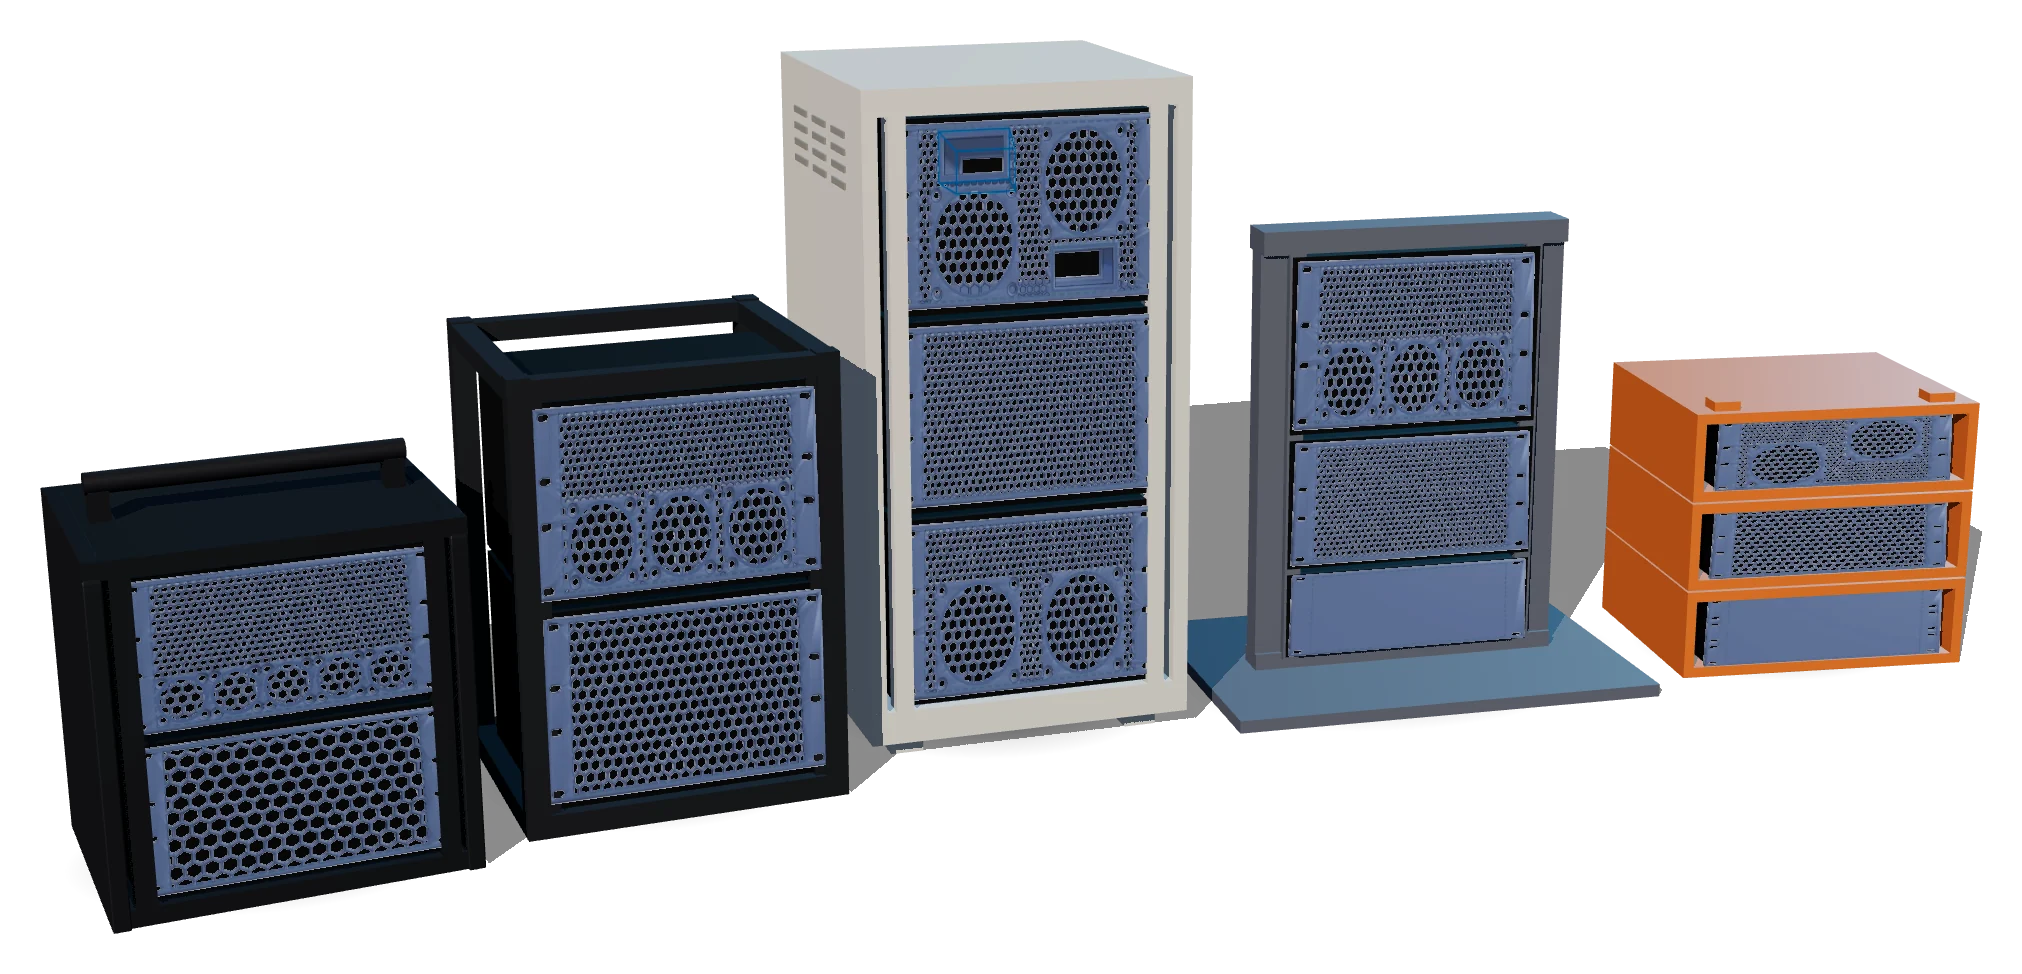
Drag fans and device windows anywhere on the plate. The honeycomb fills whatever space is left around them, and magnets line everything up to edges, centres and each other.
Drag in 3D · magnets · centre and distribute
05 / 08
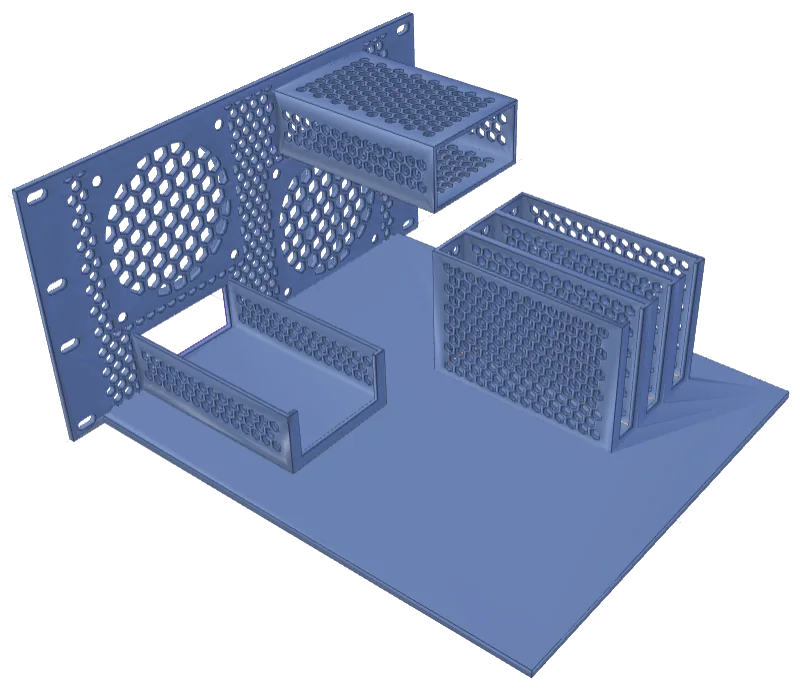
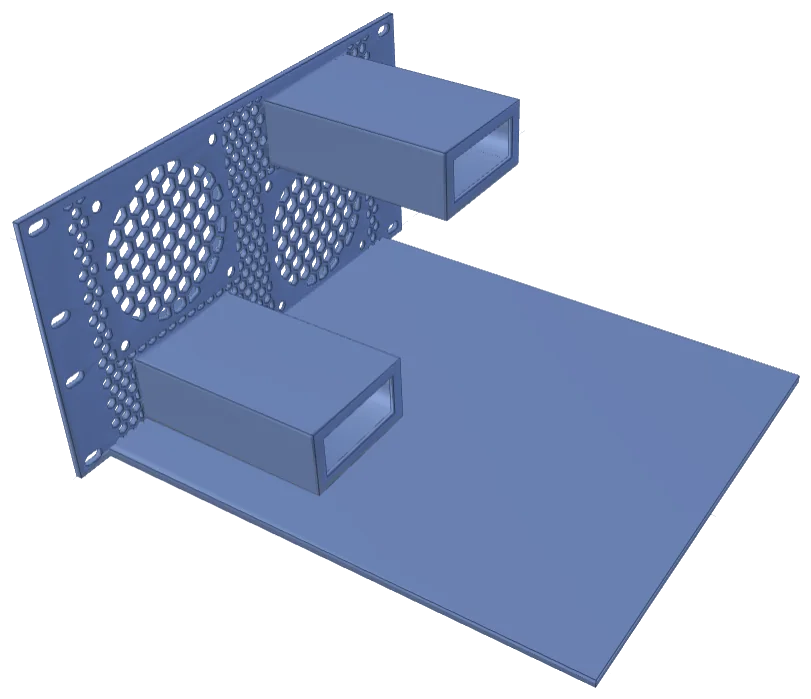
Boxes go where your hardware is.
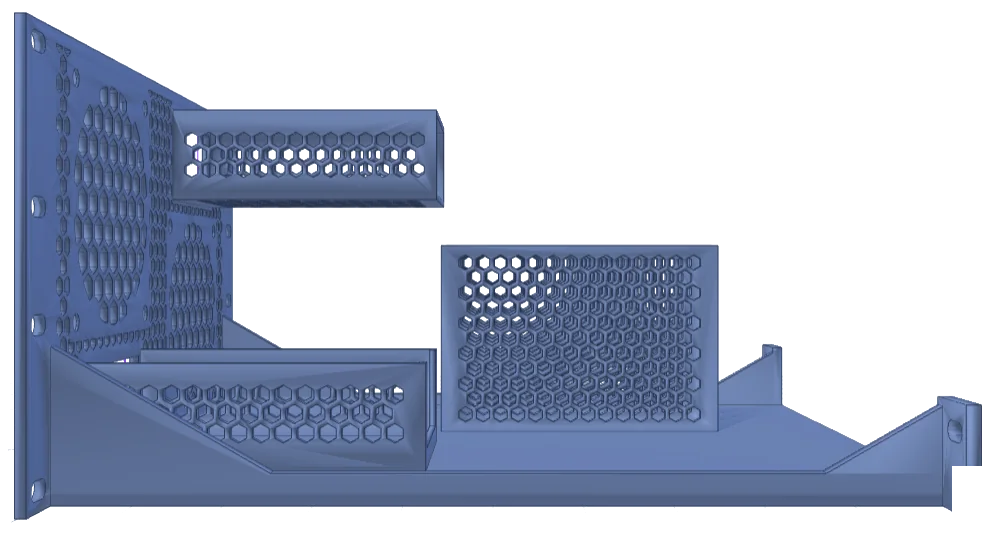
Size a box to your device and slide it anywhere on the shelf — it doesn't have to touch the front plate, so a fan can blow straight into it. Each wall can be solid, vented or removed, and boxes snap or merge into one print.
Width × depth × height · mm or inches · snap and merge
06 / 08
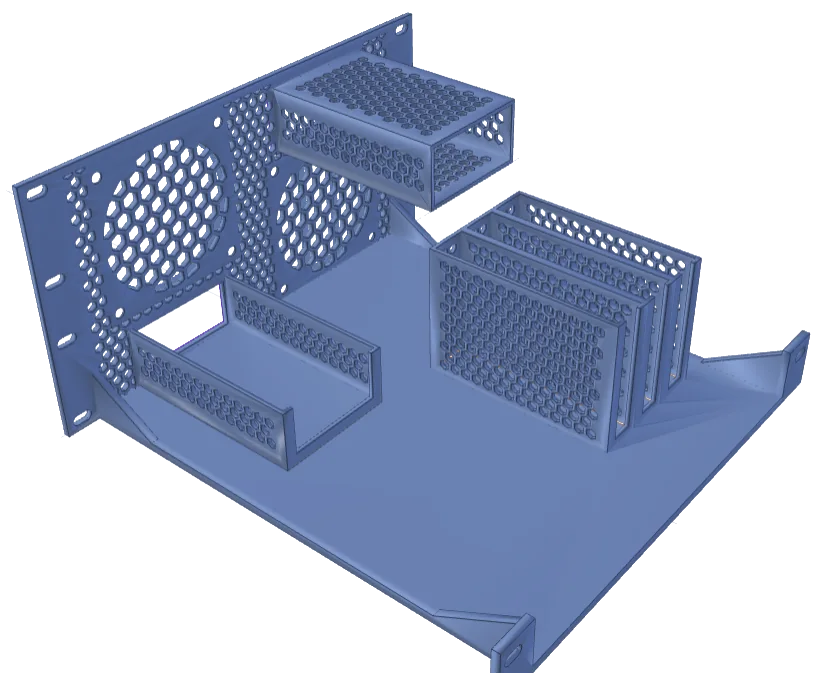
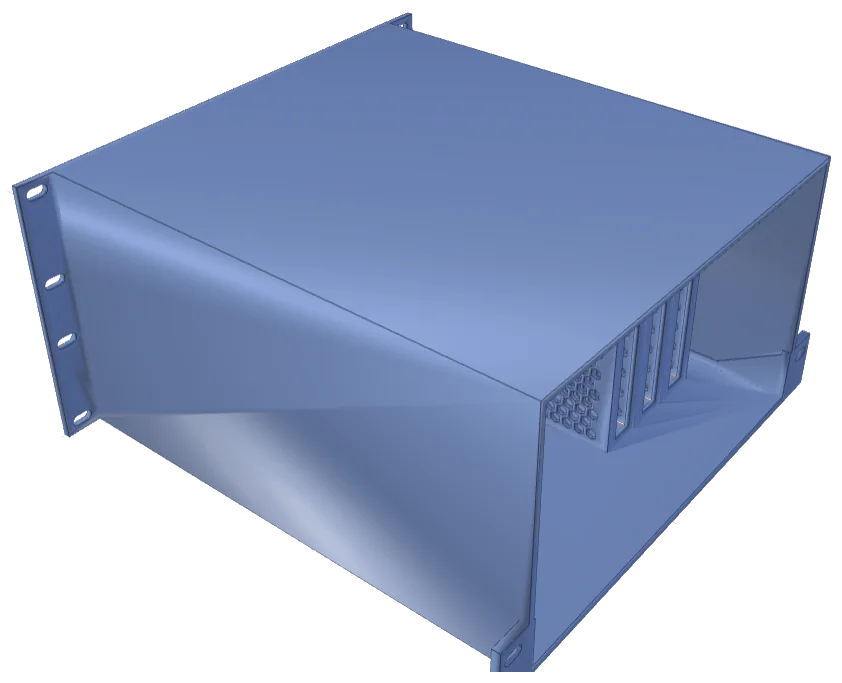
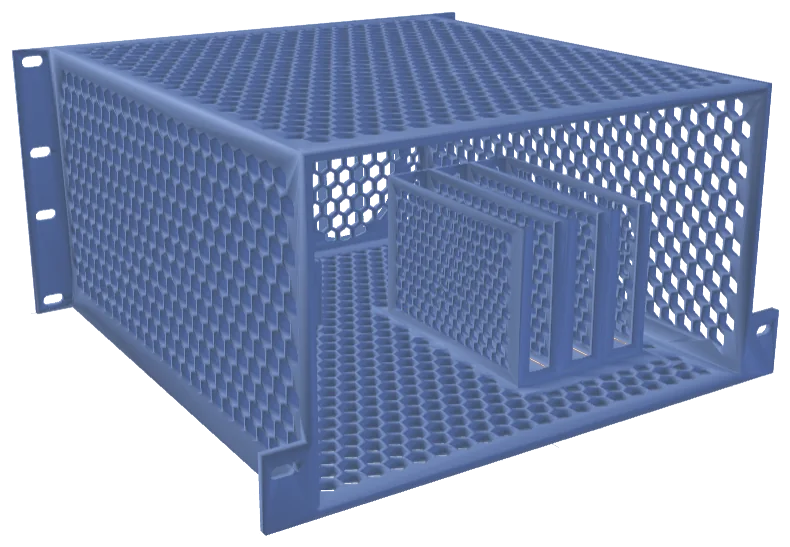
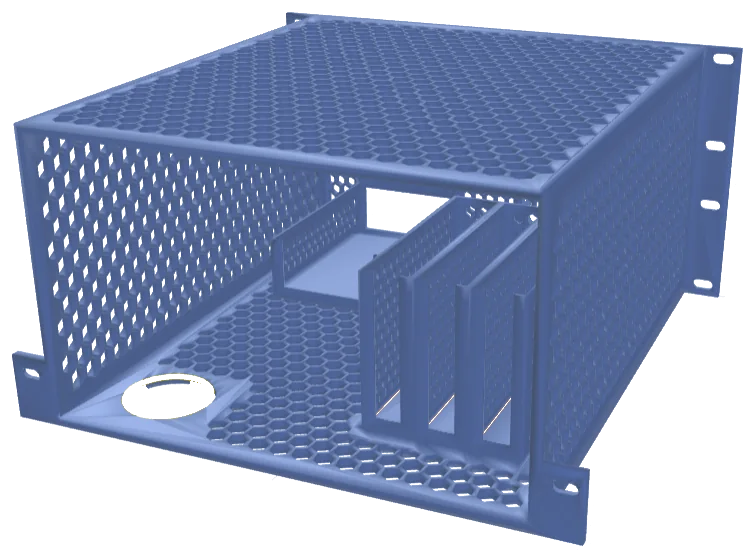
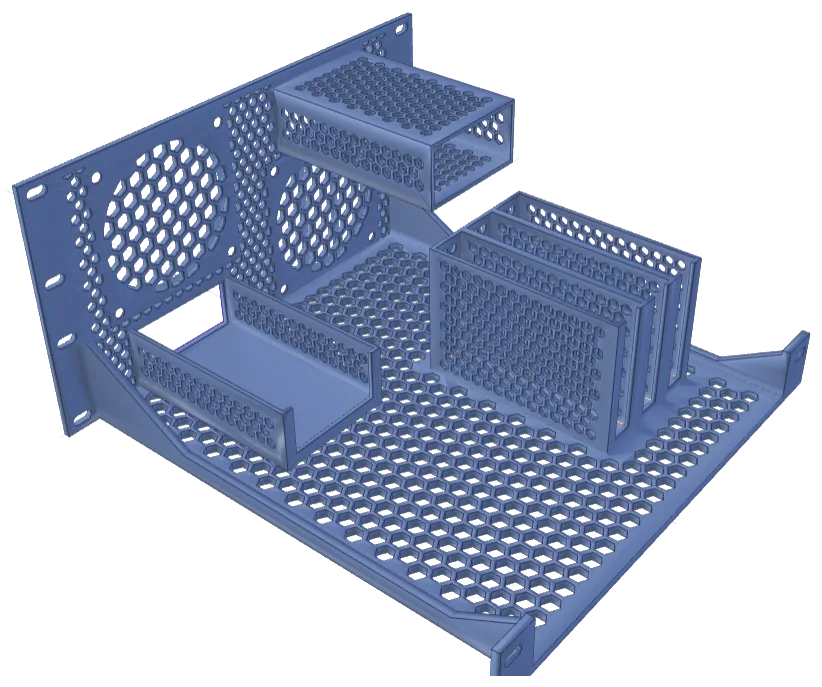
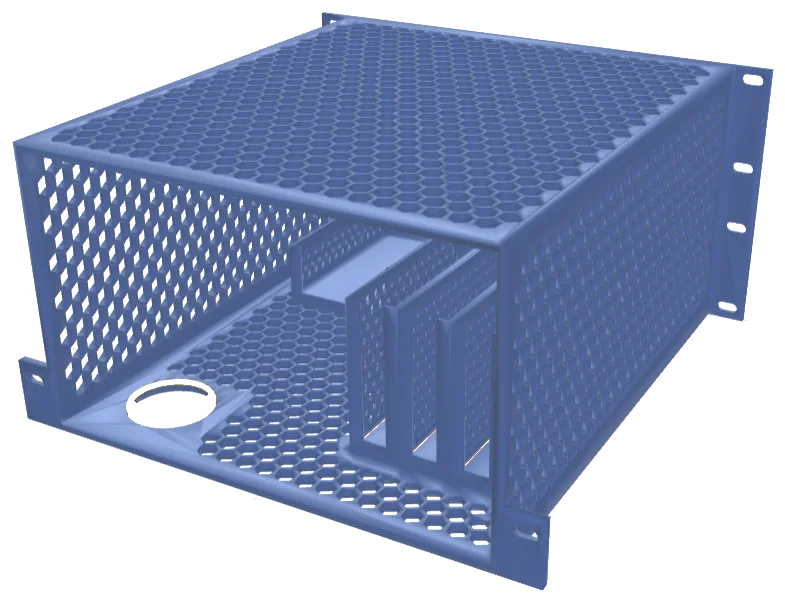
Open shelf, duct or honeycomb cage.
Leave the shelf open, close it into a duct so the front fans push air through the whole unit, or wrap it in a honeycomb cage. Every wall has its own thickness and vent setting.
Solid · vent · remove — per wall, 1–10 mm
07 / 08
Cut holes on any side.
Add round or rectangular holes to the shelf and to every duct wall — for cable runs, airflow or a connector. Drag them in 3D; they snap to centres, edges and each other, with a solid ring kept around each one.
Shelf · left · right · top
08 / 08
Check it in 3D and on paper, then print.
Orbit the part and look from any side, open true-scale 2D drawings on a proper title-block sheet, and print the fit-test coupon before the full part. The STL comes out already turned the right way up for your slicer.
3D view · 2D drawings on A3 and A2 · fit-test coupon · STL
01 / 08
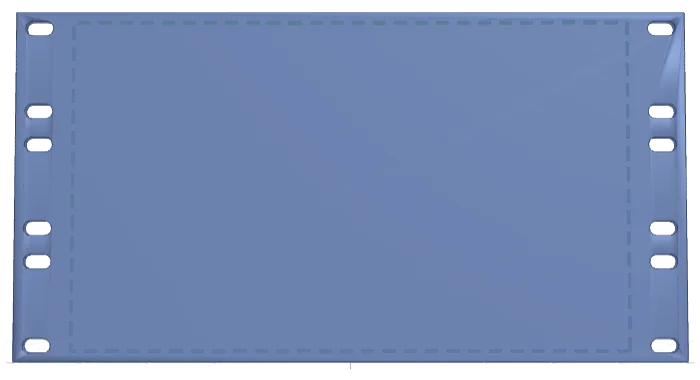
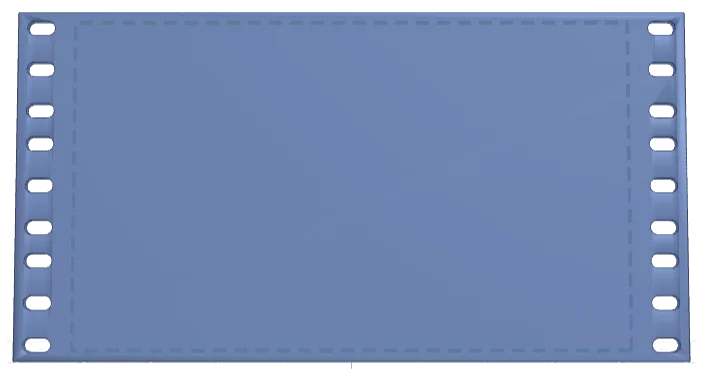
Start with a plate that fits.
Pick the height — from half a U to 12U — and the screw pattern for your rack. Every hole snaps to the real rail positions, and slotted holes give you room to line the panel up.
0.5U – 12U · EIA-310 hole rows · slotted holes
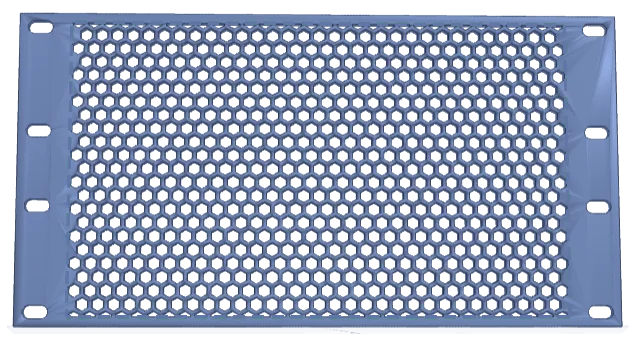
02 / 08
Let it breathe with honeycomb.
Turn the plate into honeycomb in three cell sizes. Cells are clipped to the space instead of dropped, so even the edges keep breathing — and a solid rim stays where the screws go.
Small 5 mm · Medium 8 mm · Large 12 mm
03 / 08
Drop in fans — they have to fit for real.
40, 60 or 80 mm fans, each with a honeycomb guard across the opening. Screw holes land where the fan's holes are, and the designer won't let a fan sit anywhere it couldn't actually be mounted.
40 mm × 5 · 60 mm × 3 · 80 mm × 2
04 / 08
Mix fans, vents and device openings.
Drag fans and device windows anywhere on the plate. The honeycomb fills whatever space is left around them, and magnets line everything up to edges, centres and each other.
Drag in 3D · magnets · centre and distribute
05 / 08
Boxes go where your hardware is.
Size a box to your device and slide it anywhere on the shelf — it doesn't have to touch the front plate, so a fan can blow straight into it. Each wall can be solid, vented or removed, and boxes snap or merge into one print.
Width × depth × height · mm or inches · snap and merge
06 / 08
Open shelf, duct or honeycomb cage.
Leave the shelf open, close it into a duct so the front fans push air through the whole unit, or wrap it in a honeycomb cage. Every wall has its own thickness and vent setting.
Solid · vent · remove — per wall, 1–10 mm
07 / 08
Cut holes on any side.
Add round or rectangular holes to the shelf and to every duct wall — for cable runs, airflow or a connector. Drag them in 3D; they snap to centres, edges and each other, with a solid ring kept around each one.
Shelf · left · right · top
08 / 08
Check it in 3D and on paper, then print.
Orbit the part and look from any side, open true-scale 2D drawings on a proper title-block sheet, and print the fit-test coupon before the full part. The STL comes out already turned the right way up for your slicer.
3D view · 2D drawings on A3 and A2 · fit-test coupon · STL